Character rigging: Difference between revisions
Zweitholou (talk | contribs) m minor fix to workflow |
Zweitholou (talk | contribs) m added more detail in workflow |
||
| Line 9: | Line 9: | ||
[[File:char_rigging_01.png]] | [[File:char_rigging_01.png]] | ||
4) | 4) join the arms, hands, torso, head, legs and feet for editing and weighting | ||
5) in edit mode, move the entire mesh along the Y axis so the neck bone is in the | 5) in edit mode, move the entire mesh along the Y axis so the neck bone is in the center of the meshes neck. Repeat this for other character components. | ||
[[File:char_rigging_02.png]] | [[File:char_rigging_02.png]] | ||
Revision as of 06:11, 2 September 2018
1) add a new skeleton from the ue4tools plugin with the option to include a mesh unchecked
2) in object mode, scale the skeleton so the hips are at the right height
3) in pose mode, scale the spine, clavicles, and arms until they're about the right length
4) join the arms, hands, torso, head, legs and feet for editing and weighting
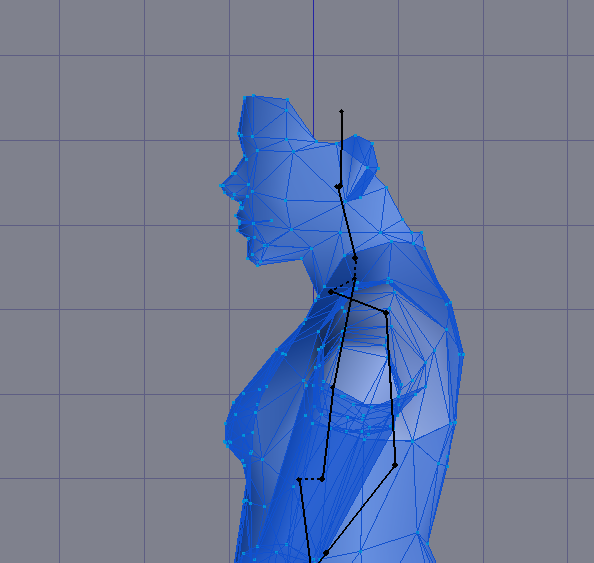
5) in edit mode, move the entire mesh along the Y axis so the neck bone is in the center of the meshes neck. Repeat this for other character components.
6) use edit mode to adjust the mesh until it conforms to the skeleton, alternatively use an additional rig to move the limbs into position
7) hands: the bone length for the fingers will probably need adjusting, as well as the mesh
8) add additional bones where needed for tails or wings.


