Character rigging
1) Use the provided skeleton, see this page
2) BEFORE associating the the skeleton, scale the mesh to be the right height and size
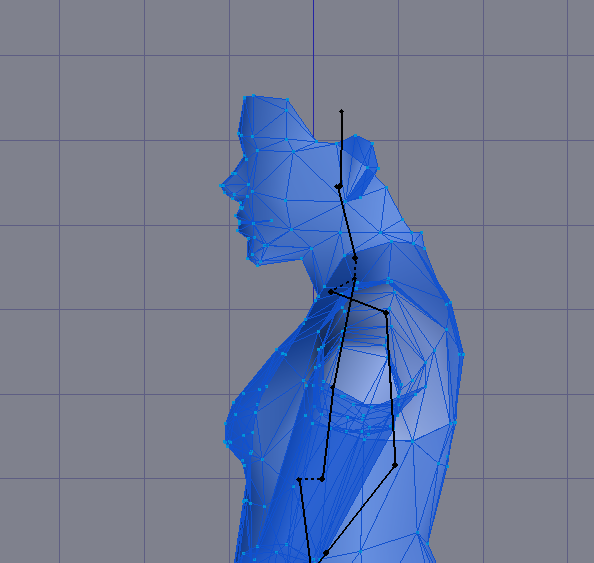
3) Select the Armature, in object mode, scale the skeleton so the hips are at the right height
3) in edit mode, move (not scale) some bones to better match the model, example spine, clavicles, and arms until they're about in the right position.
Notes:
- moving bones or scaling in pose mode is not going to affect the skeleton in UE.
- scaling bones in edit mode is not going to affect the skeleton in UE.
4) join the arms, hands, torso, head, legs and feet for editing and weighting
5) in edit mode, move the entire mesh along the Y axis so the neck bone is in the center of the meshes neck. Repeat this for other character components.
6) use edit mode to adjust the mesh until it conforms to the skeleton, alternatively use an additional rig to move the limbs into position
7) hands: the bone length for the fingers will probably need adjusting, as well as the mesh
8) add additional bones where needed for tails or wings.
Some tips I got from a Blender artist working with UE:
there are some problems with exporting skeletal meshes from blender to ue4 to be aware of:
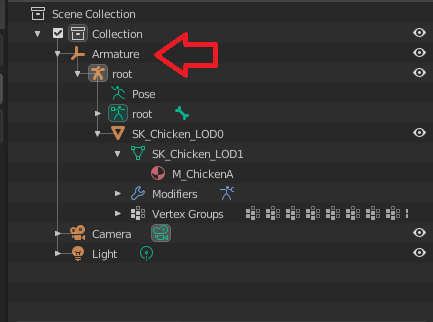
- is if you don't call the Armature "Armature" in Blender it will add a root bone with the name of the Armature, and then you can't share animations
- if you have multiple humanoid models and they should all share a skeleton
- if you export it at 1:1 scale the physics asset will be messed up and have a way too small scale, so you cant scale down physics bodies properly. This is why if you intend on having a physics asset you should scale the model and armature up by 100 before animating and export it at 0.01 . if you have location keyframes they will be messed up if you scale it up after animating


